
Ahh. You’ve taken the perfect photo, had it printed and found the perfect frame for it! Want a simple way to hang it without making multiple holes in the wall? Or (ahem!) using a measuring tape.
Yes, I am that breed that doesn’t want to take the extra time to measure so I eyeball it. It works for me because I am okay with the results. It’s not an area that I crave perfection in.
However, I do not want to make extra holes and so I have found a way that works for me that I wanted to share with you! The example I’m using is for a hook that’s centered on the back of the frame. You can do something similar if the hooks are spaced at each end of the frame.
What you need:
- photo with frame to hang
- pencil
- masking tape
- hammer
- nail or hook
- Step 1: Decide where you want the photo hung. Simple. I try it in several places before I am satisfied.
- Step 2: Hold the frame up to the wall and using the picture frame as your guide, determine the center point of the top of the frame. Feel free to use a ruler or measuring tape. With a pencil, mark the center point on the wall. Easy.

- Step 3: Using masking tape, align the top of the tape to the top of the frame. Lay the tape down and cover the hook on the back of the photo frame with the masking tape. Make note of where the hook is.
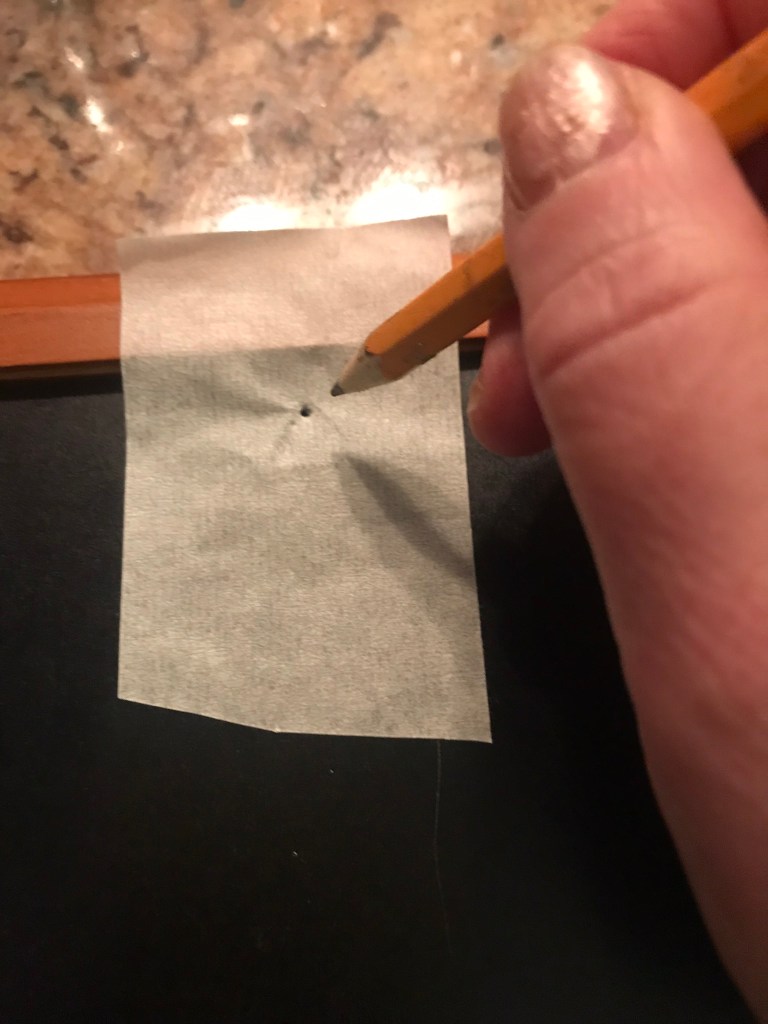
- Step 4: Using a pencil, poke through the masking tape where the top of the hook is. Wiggle the pencil until you’ve poked a hole in the tape.

- Step 5: Carefully remove the masking tape from the back of the frame. Using the pencil mark on the wall that you used to center you photo, lay the masking tape down on the wall. This will give you the space between the top of the frame and where the nail should go. Make sense?

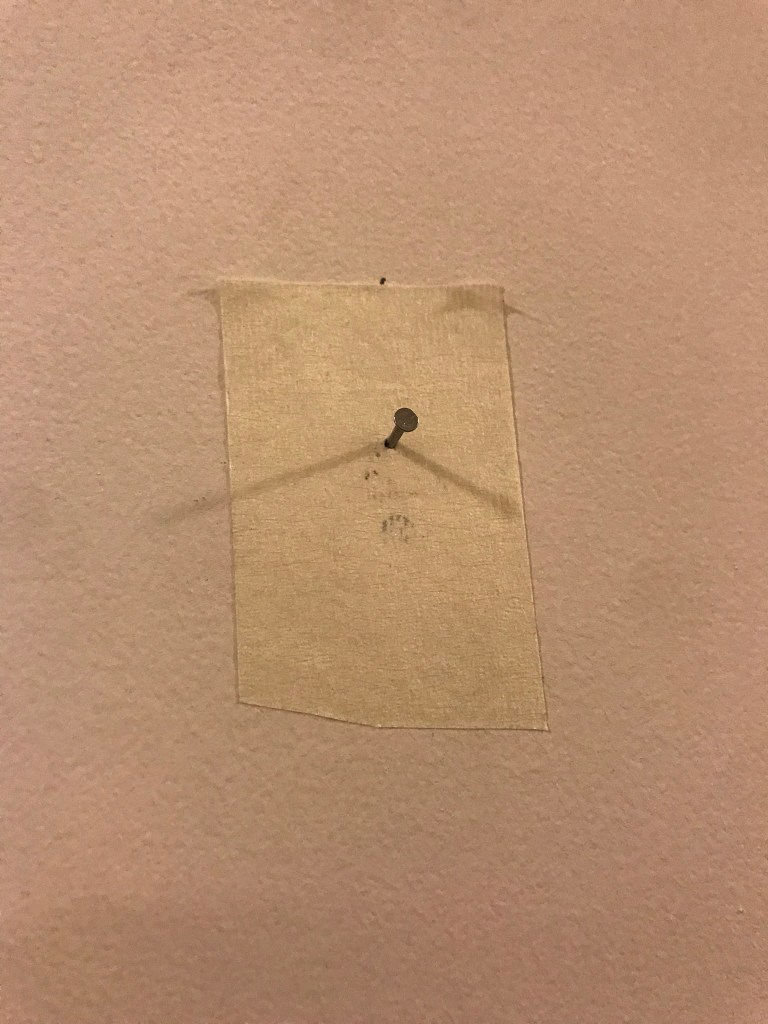
- Step 6. Using the hole that you created on the masking tape, hammer a nail or picture hook through the hole into the wall.
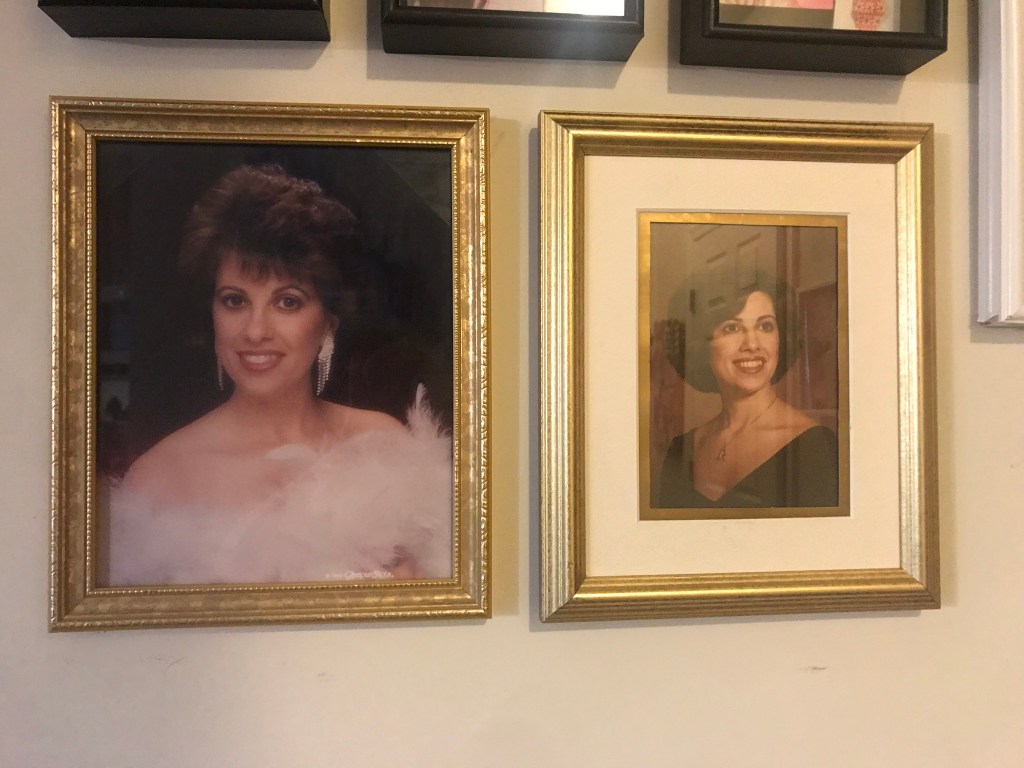
- Step 7. Remove the masking tape and hang your photo!
No more measuring the space between the top of the frame and the photo hook, which I could never get right anyway!
Note: The masking tape didn’t hurt my walls or the paint. Use care that the tape doesn’t remove paper or paint from your wall.
Bonus idea: If you have several photos to hang, you may want to lay them on the floor and decide what layout you want. Then take a photo of the layout so you can recreate it!
Sometimes, the simple things make all the difference! I hope this little tip from The Italian Grandmama helped!
Please show me your finished pictures and add your tips in the comments!
If you enjoy the essays and tips you read from The Italian Grandmama, please join our list and share with your friends!
Angela DiCicco
- The Italian Grandmama
- theitaliangrandmama.com
- theitaliangrandmama@gmail.com
